It is a good practice to set the default Zoom Server on your Zoom Client machine. This allows your Zoom Client to instantly connect with that server without any delay in asking for a URL.
These settings are valid for Zoom 7.2 and below. Follow here for Zoom 7.3 and above.
Follow these steps to set a default Zoom Server on your Zoom Client machine:
- For a Mac machine, left-click the
 icon in the menu bar. For a Windows machine, right-click on the
  icon in the system tray.
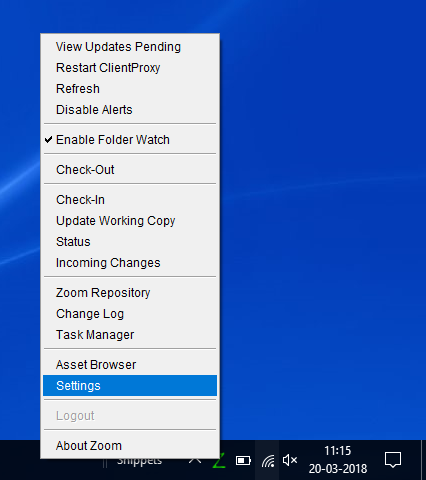
 - Select Settings from the Z-menu.
- Select Server/WC Settings from the sidebar in the Settings window.
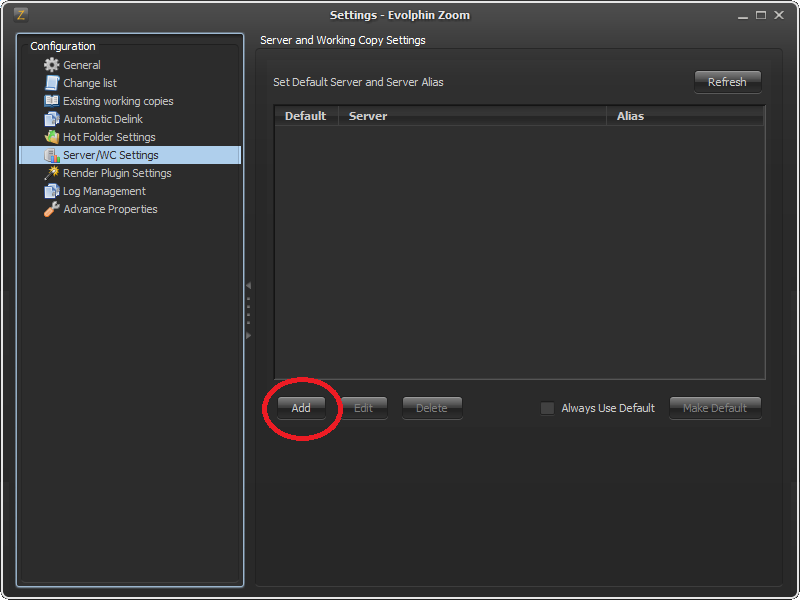
- Click Add.
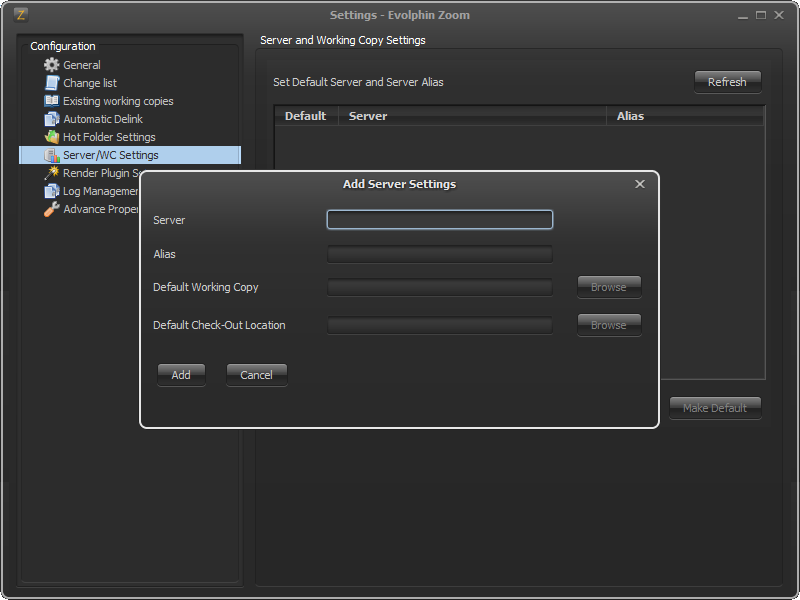
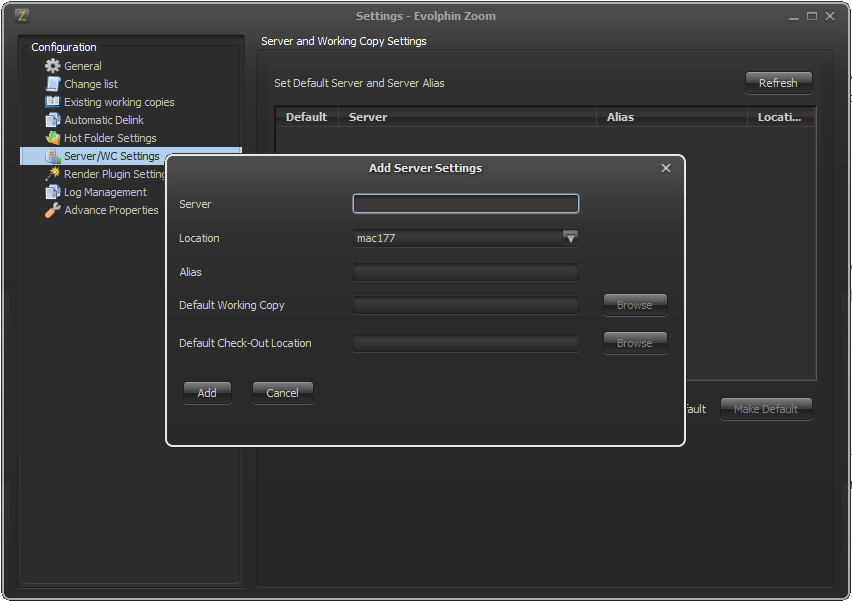
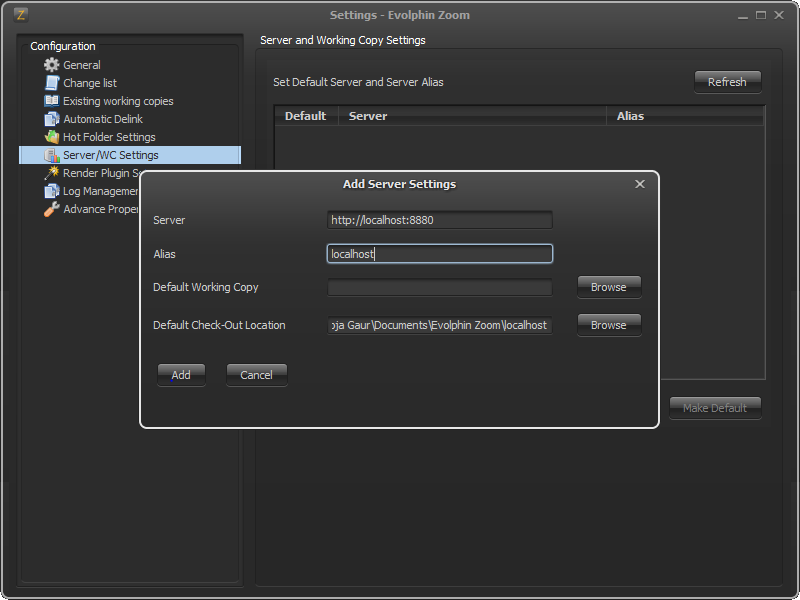
- Set the URL to your Zoom Server in the Server box. Ex. http://<MyZoomServer>:8880Port 8880 is typically the port used by the Zoom Client to connect to the Zoom Server.
- Under Alias, set an alias name for the Zoom Server. Ex. Server12The alias can be used in the Zoom interface as a replacement for the Server URL. Make sure the server alias does not contain any whitespace characters.
- Click Add.
- If prompted, log into the Zoom Server using your Zoom credentials.
- Select your newly created Zoom Server in the Server and Working Copy Settings list.
- Click Make Default.
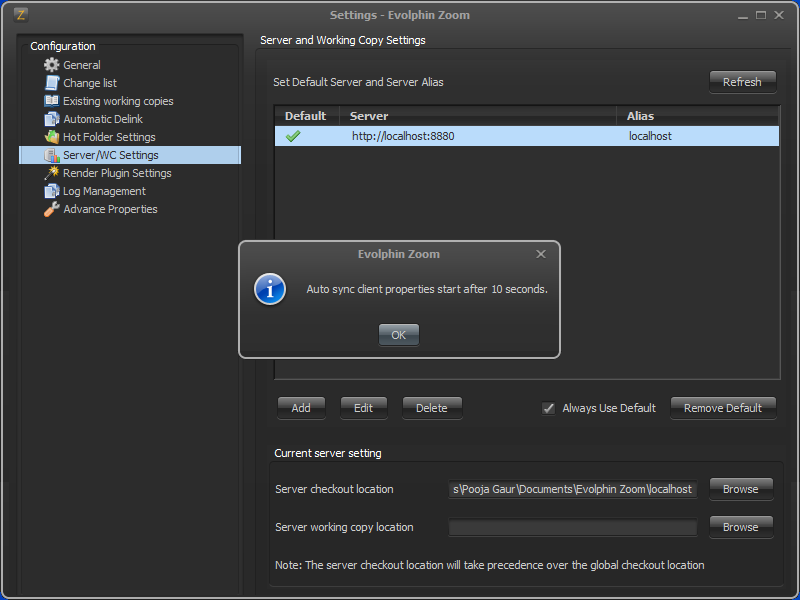
- Click OK when informed about the auto-sync of client properties.
- To make sure that your Zoom Client always connects to the same default Zoom Server, check Always Use Default.