Before you begin
See the Installing Zoom Desktop Apps Using eZ Updater » article for more information about installing Zoom Desktop.
Prerequisites
Ensure your media manager or administrator has:
- Shared the Sign-in credentials that are one of the following:
- Your single sign-on email address (For example: sandy@evolphininc.com).
- Basic authentication login: Zoom username and password.
- The URL to connect to the Zoom server. This URL will resemble the following sample URL:
https:/{your company server}:9880 - Assigned you a role and made you a member of at least one project vault.
Benefits
Once you connect with the Zoom server, you will be able to:
- Use the desktop app to perform fast ingest of entire folders.
- Sync your session in a working copy folder & create revisions.
- Login to all the Zoom services such as accelerated S3 transfers for high-res media, proxy streaming, collections, and more in one go.
Procedure
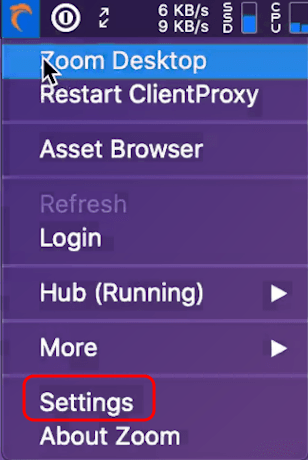
- Right-click the Evolphin Zoom icon in the taskbar and select Settings. The “Settings – Evolphin Zoom” window opens.
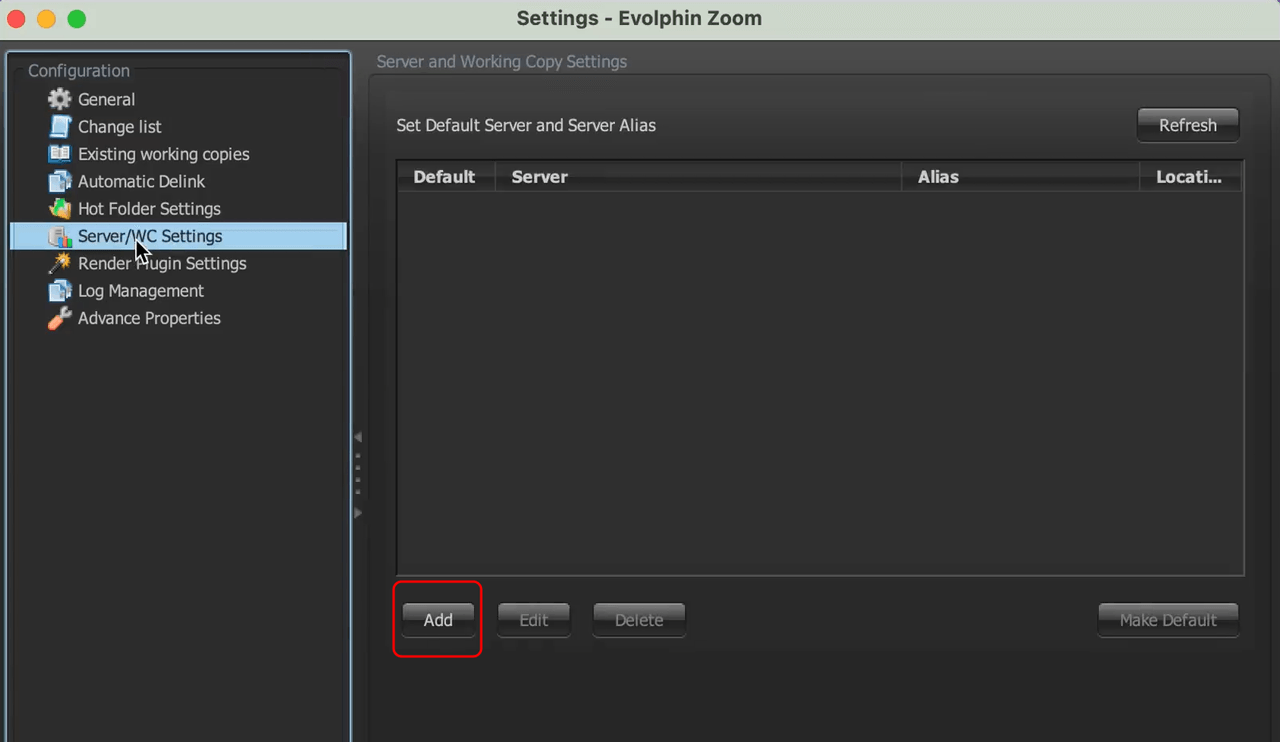
- Click Server/WC Settings › Add. The “Add Server Settings” dialog opens.
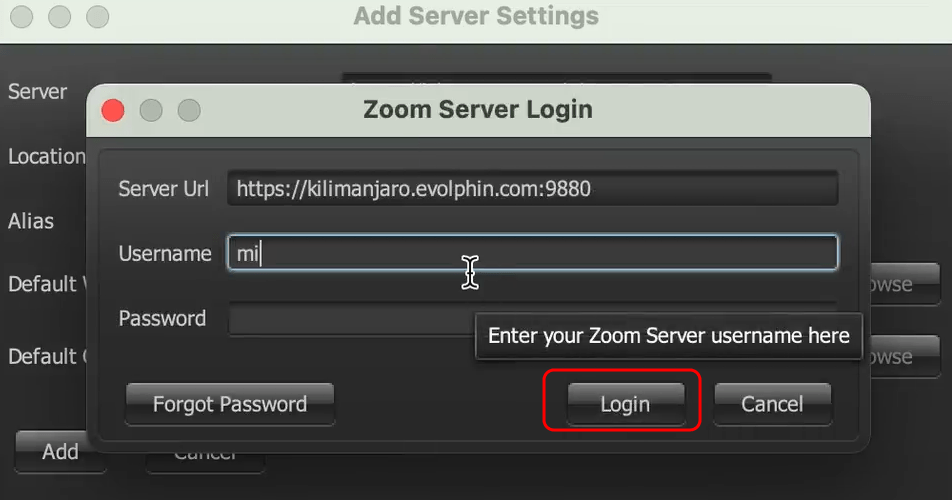
- In the Server field, specify the address of the Zoom Server you want to configure your Zoom Desktop and press Enter. The “Zoom Server Login” dialog opens.
- Provide you Zoom user credentials via Single Sign-on (SSO) or enter the “Username” and “Password” fields and click Login. The user details are verified and the login completes.
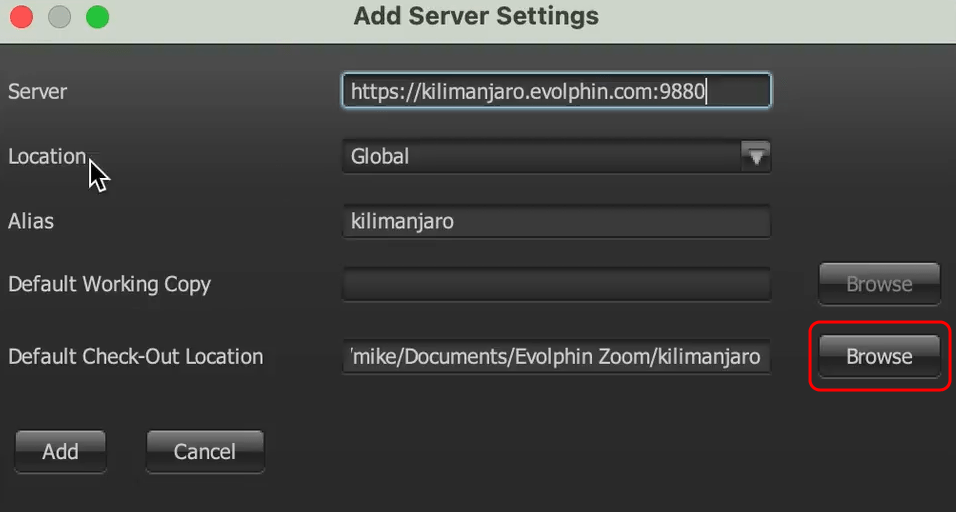
- In the “Location” field, specify the location your media manager wants your to use. Pick “Global” as a default.
- In the “Alias” field review the alias for the Zoom Server.
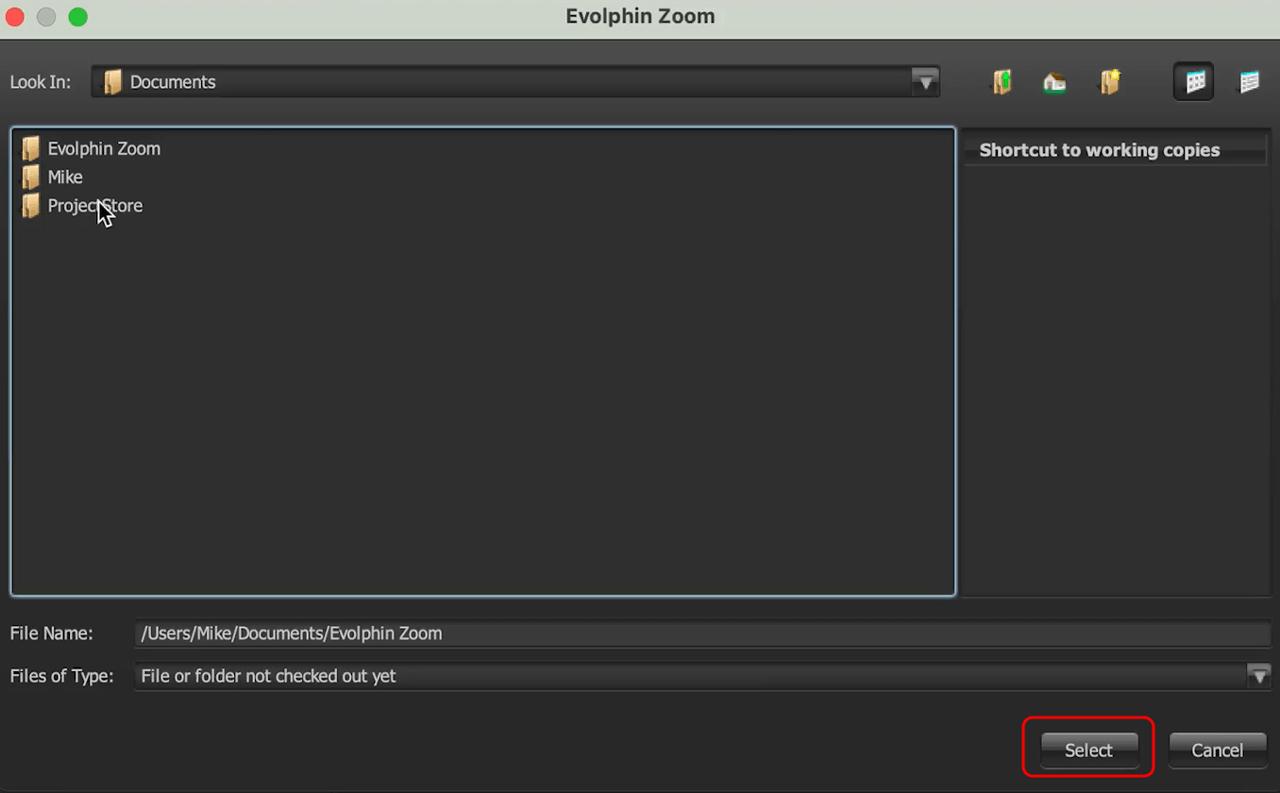
- In the “Default Check-out Location” field, click Browse.
- Navigate to and select the folder that you want to specify as the location where Zoom files will be checked-out. This is also the folder from which you will check-in any edits you make to existing Zoom files or add new files.
- Click Select.
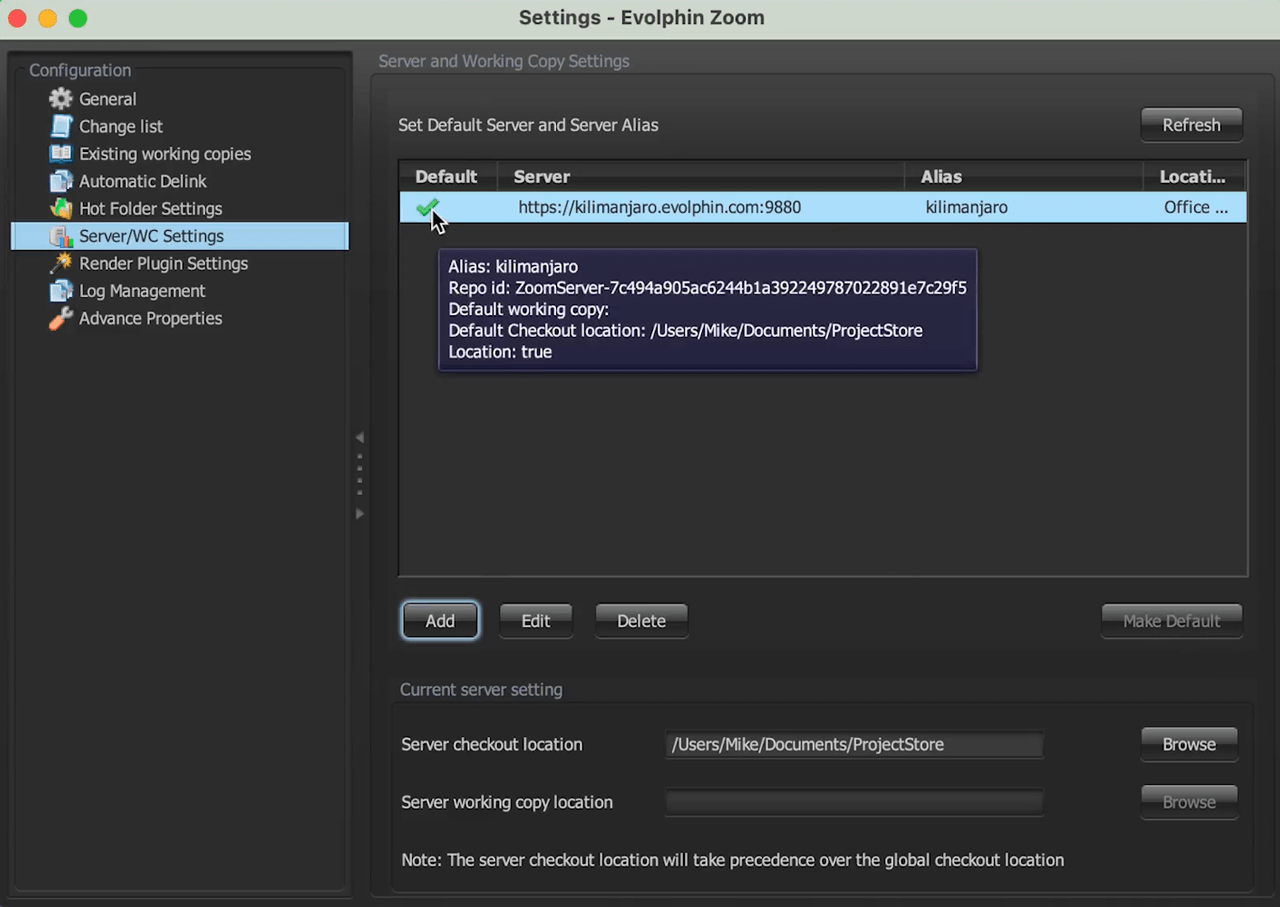
- In the “Add Server Settings” dialog, click Add.
- Notice that the new server is displayed in the “Set Default Server and Server Alias” region of the “Server/WC Settings” page.
- In the “Default” column, a green check-mark next to the server name indicates that this server is configured as the default Zoom server.
- A system message is displayed confirming that the Zoom service has started. This also indicates that the Zoom Desktop application has connected to the Zoom Server.
- You can now close the “Settings – Evolphin Zoom” window.
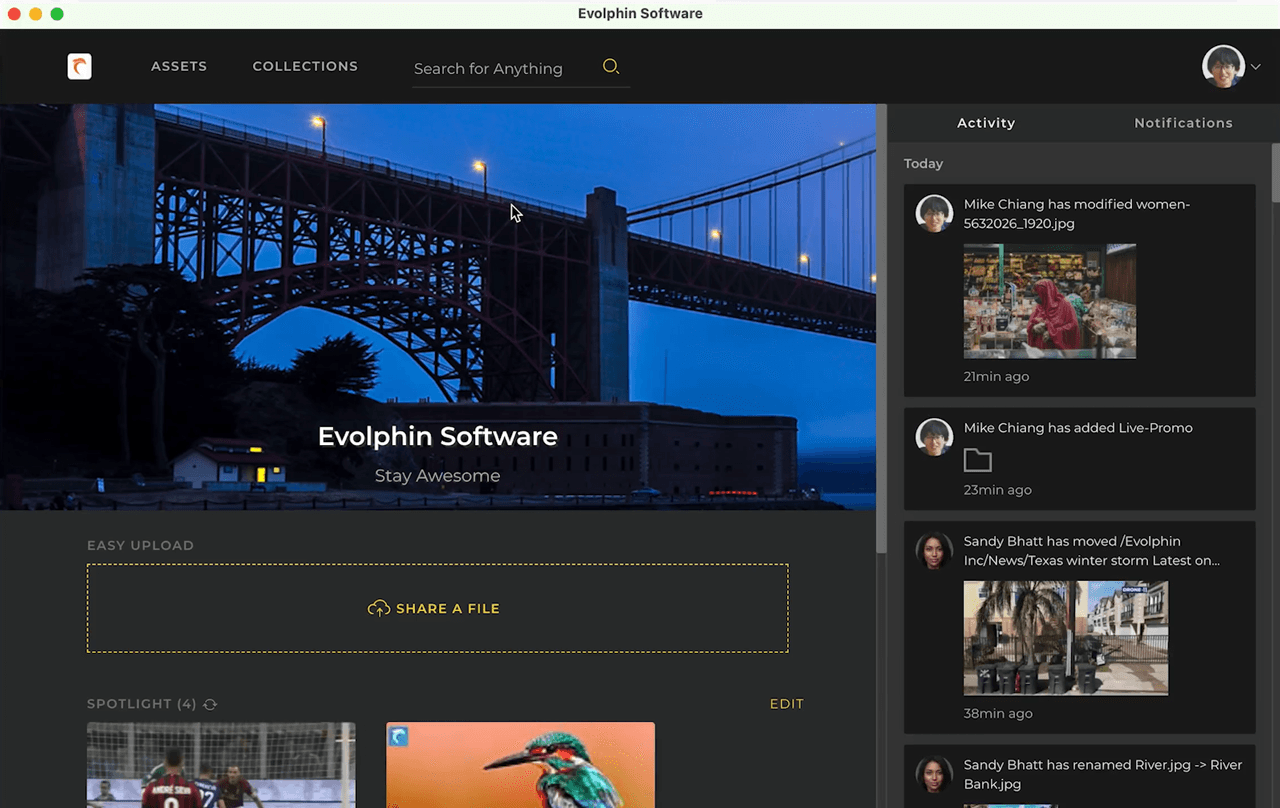
- To open Zoom Desktop after configuring the server, in the taskbar, right-click the Evolphin Zoom icon and select Zoom Desktop.
Results
If a new version of Zoom Desktop is available, the upgrade process begins.
Tips & Tricks
Unable to connect to Zoom Server
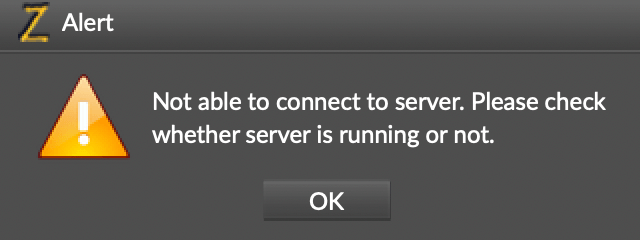
| Reason | Solution |
|---|---|
| Zoom is behind a VPN and the user is not connected to it. | Connect to your company’s VPN before attempting to connect to Zoom. |
| The Zoom Server is in the cloud and you do not have internet access | Restore internet access retry connecting to Zoom. |
| The Zoom Server address configured in the Zoom Client is not valid. | Check the server configuration in the "Server/WC Settings" page in Zoom settings from the Evolphin orange menu icon. |
| Your VPN or firewall is blocking the Zoom ports | Ask your network admin to open outbound Zoom ports |
Version mismatch error

Why it happens?
When attempting to connect to the Zoom server using the link provided to you, you may see an error that says that the Zoom client version is not compatible with the selected Zoom server.
The Zoom client and server versions must be compatible.
How to fix?
If the Zoom server version is newer, then try to upgrade your Zoom Desktop client version by manually checking for upgrades using the eZ Updater application.
If the Zoom server version is older, then notify your administrator.
- Last modified on